
AI Developer Agents in Five Minutes: A Practical Walkthrough

How to get a local AI agent running in about five minutes – no credit card required
AI agents and AI agent development have been around for years and have a huge impact on the software development process. According to the 2025 StackOverflow Developer Survey, they are a force and can improve developer efficiency, quality and satisfaction.
This is why I am still surprised to encounter developers and organizations that still limit AI usage to IDE extensions or manually copying and pasting code to and from web browsers.
If you fall into this camp, please take five minutes to set up an AI agent and test it out. Who knows what 2026 is going to bring, but today this is the best way to leverage AI in software development.
Discover how tech leaders are leveraging AI co-pilots to boost productivity, enhance creativity and future-proof their teams without sacrificing human expertise.
The Options
I’m not here to sell you on Gemini over ChatGPT or Claude. Each represents a growing ecosystem of AI agent development tools, and new options are emerging quickly. The goal here is to show how easy it is to stand up a local AI agent using one option, Gemini CLI, so you can understand the workflow and decide which tools make sense for your own development environment.
What You’ll Need
- A Gmail account (for the API key)
- A terminal (Bash, Zsh, PowerShell – whatever works)
- NPM installed globally
- Five minutes and a willingness to try something new (maybe 10–15 if you’re new to NodeJS and NPM)
Step 1: Install Gemini CLI
Head over to the Gemini GitHub Page and run the install script. As of writing, the install mirror is NPM and the command is:
npm i -g @google/gemini-cli@latest
As an alternative, you can use OpenAI Codex as a CLI. For this walkthrough, we’ll keep it simple with Gemini CLI.
Step 2: Get Your Free API Key
- Go to the Google AI Studio.
- Click Create API key.
- Create a new project (I called mine “Gemini CLI Project”).
- Generate a new API key (free tier).
- Copy that key somewhere safe.
Step 3: Wire Up Your Environment
Create a secrets file (I used my-secret-file), and drop in your API key like so:
Linux/Mac 🐧
export GEMINIAPIKEY=”super-secret-key-pasted-from-google-ai-studio”
echo “Gemini Free Key set up”
Windows
$env:GEMINIAPIKEY = ‘super-secret-key-pasted-from-google-ai-studio’
Write-Output “Gemini Free Key set up”
Then source it:
Linux/Mac 🐧
source ~/.secrets/my-secret-file
Windows
. $HOME\.secrets\my-secret-file
Step 4: Is It Working?
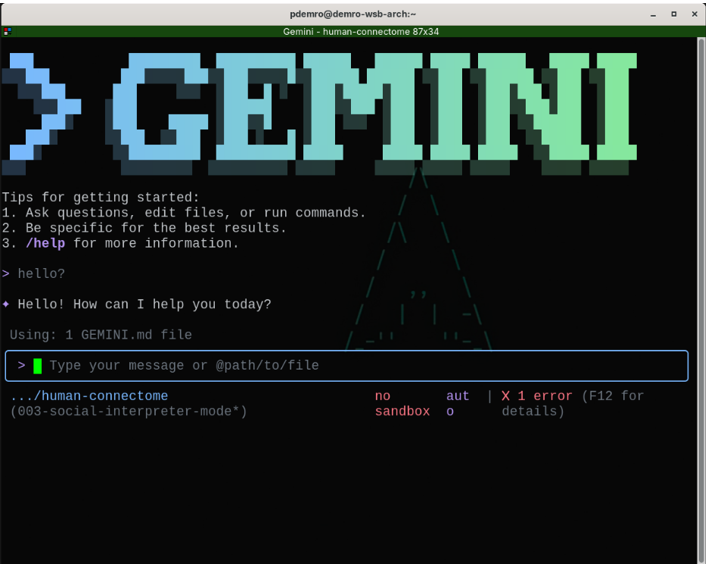
Fire up Gemini CLI from the same terminal window you sourced the environment variables using the Gemini command. Run a quick test (“hello Gemini” for example). If you see a response, congrats! You’re now running a state-of-the-art AI agent, for free.
This lightweight setup is often enough to help teams understand what modern AI agent development looks like in practice, without committing to a specific platform or paid tooling.
Fine Print
- Privacy: If you’re using the free tier, Google may use your prompts and responses to improve their models. Human reviewers might see your data. If you’re working on a sensitive codebase, familiarize yourself with the privacy policy before you start.
- Rate Limits: The free tier is generous, but not unlimited. If you hit the wall, you can always switch back to your old workflows or upgrade. Details are at https://ai.google.dev/gemini-api/docs/rate-limits#current-rate-limits.
Call to Action
Here’s my challenge for you: take a real unit of work (a JIRA story, GitHub issue, etc.) and use Gemini to build a to-do list. Save it as markdown, then ask Gemini to help you knock out the tasks. See how far you get. If you’re feeling ambitious, look into tools like GitHub’s Spec Kit to take it further. That’s a topic for another day.
Remarks
Is this overkill for a five-minute setup? Maybe. But if it gets even one developer to try agentic workflows, it’s worth it. If you run into limits, privacy concerns or just want to rant about AI, drop an email or send me a message on LinkedIn. Otherwise, go build something cool.
Contact Us
If you’re exploring AI agent development services beyond internal experimentation, Withum supports teams in evaluating, designing and implementing practical agent-based solutions. Contact our AI Services Team today to see what’s possible.